 Ask in ChatGPT
How to Pay for Web3Mail
Web3Mail offers secure, blockchain-based communication by encrypting emails and protecting user privacy.
The sendEmail function uses iExec's protocol to encrypt and send messages, ensuring secure and decentralized email exchanges.
This guide shows how to pay for Web3Mail using vouchers and RLC.
Using Vouchers for Web3Mail Chain Not Supported
Step 1: Obtain a Voucher
- Acquire Vouchers: Obtain vouchers through the iExec Builder Dashboard. Note that the number of Web3Mail executions and the expiration time of each voucher is restricted based on its validity period. Refer to pricing documentation for more information.
- Support: For specific limitations related to your voucher, please contact iExec Support.
Step 2: Use the Builder Dashboard
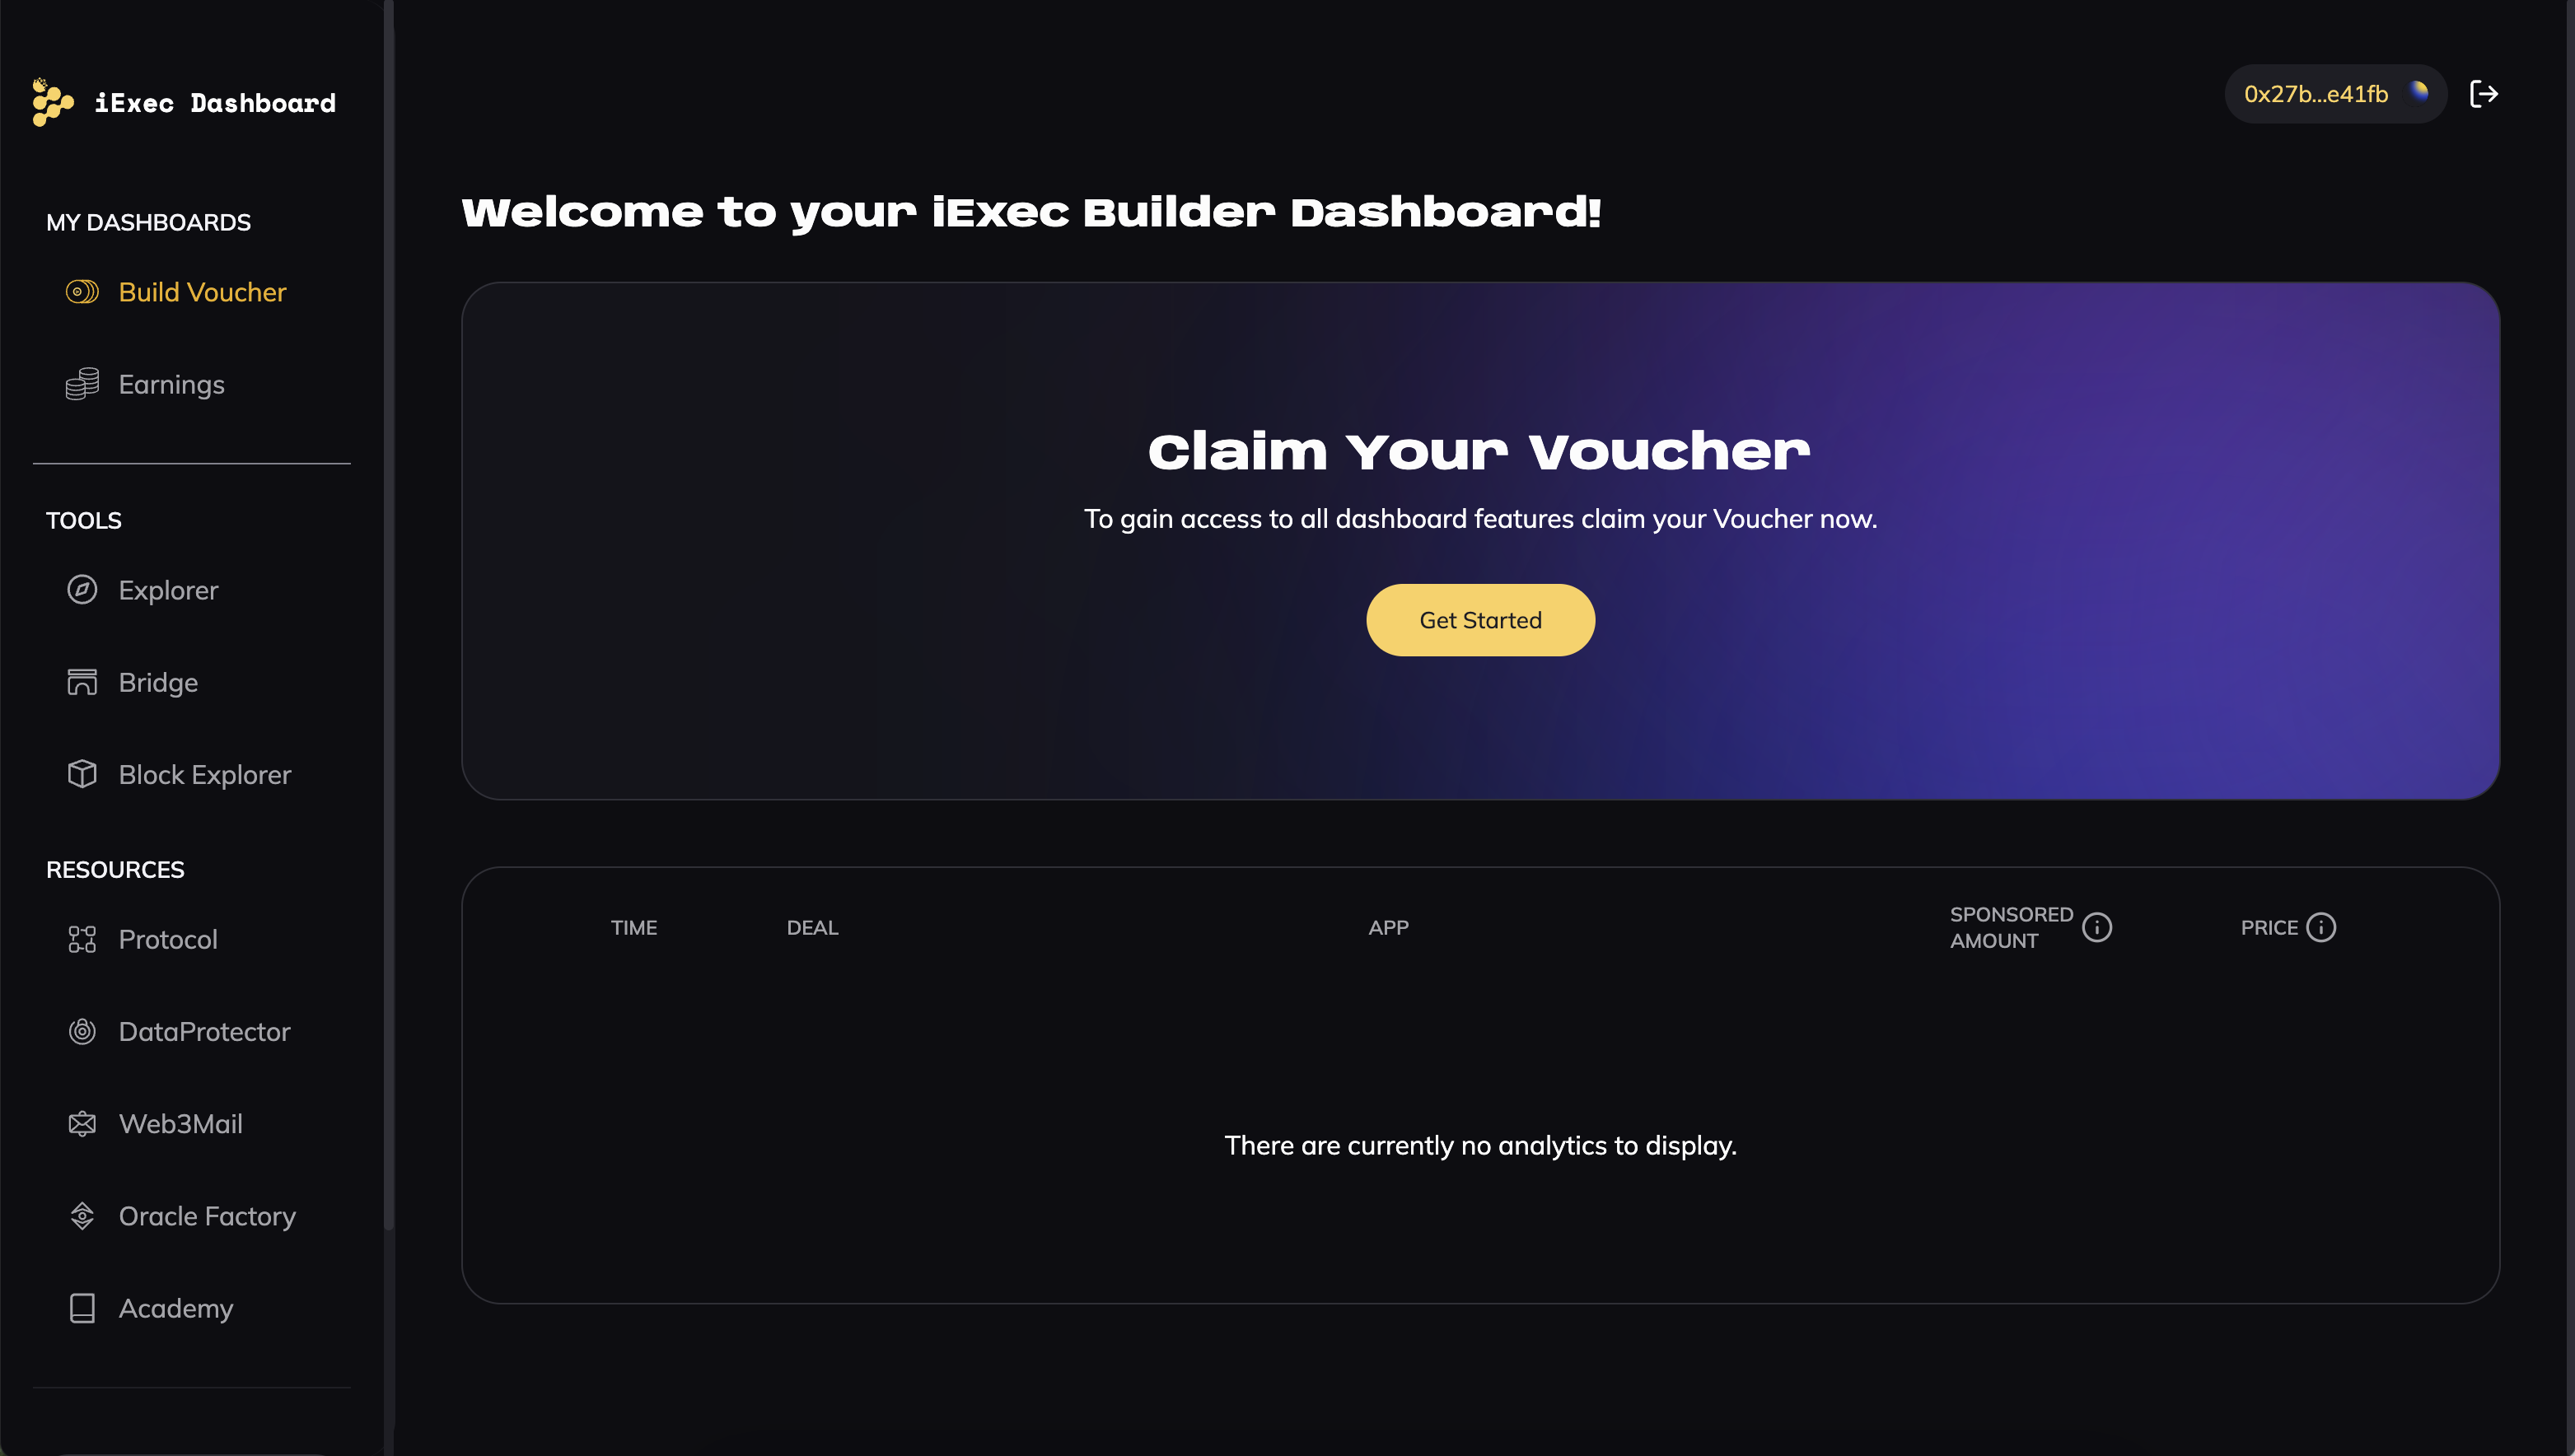
The iExec Builder Dashboard manages vouchers and resources with an intuitive interface for:
- Claiming Vouchers: Builders can claim vouchers during the BUILD and EARN stages.
- Top-Up Vouchers: Future updates will allow direct top-ups via the dashboard. Currently, builders are redirected to Discord.
- Checking Voucher Balance: Track your voucher balance and usage history.
🧙🏼 Go here
Step 3: Grant Allowance (If Necessary)
Use iexec.account.approve(voucherAddress) to authorize the voucher smart contract to debit your account if the voucher balance is insufficient. This ensures that if the voucher alone doesn't cover the execution cost, the remaining balance is automatically deducted from your account.
For additional information on using RLC for fallback payment in Web3Mail, refer to the Using RLC with Web3Mail section.
Step 4: Execute Web3Mail's SendEmail Function
When using a voucher for payment, set the useVoucher parameter to true:
const sendEmail = await web3mail.sendEmail({
  protectedData: '0x123abc...',
  emailSubject: 'My email subject',
  emailContent: 'My email content',
  useVoucher: true,
});
Using RLC for Web3Mail
If you choose to use RLC to cover the computational cost of Web3Mail (or if you need to cover data access costs such as retrieving the recipient's email address), follow these steps:
Install the iExec SDK
To manage RLC tokens, developers must use the iExec SDK, which offers all the necessary tools for interacting with the iExec platform. This includes depositing, withdrawing, and checking balances of RLC and RLC
- In your JS/TS project, run
npm install iexec - Instantiate the iExec SDK (see the doc)
import { IExec } from 'iexec';
// Connect to injected provider
const iexec = new IExec({ ethProvider: window.ethereum });
Purchase RLC
Obtain RLC tokens from a supported cryptocurrency exchange. For detailed information on how to buy RLC tokens, see our RLC Token guide which covers all available DEX and CEX options.
For detailed instructions on how to bridge RLC tokens between networks, see our Bridge guide which covers all supported networks and bridging methods.
Deposit RLC
Deposit the RLC into your iExec account using the command:
iexec.account.deposit(RLC_amount);This converts RLC into sRLC, used as proof of funds for task execution.
Check sRLC Balance
Use the command below to check your balance:
iexec.account.show();Execute sendEmail
Set the useVoucher parameter to false when using Web3Mail's sendEmail function to pay with RLC:
const sendEmail = await web3mail.sendEmail({
  protectedData: '0x123abc...',
  emailSubject: 'My email subject',
  emailContent: 'My email content',
  useVoucher: false,
});
Withdraw sRLC (If Desired)
Convert sRLC back to RLC and withdraw to your wallet using:
iexec.account.withdraw(RLC_amount);